It’s good thing that the baking gets done early in the morning, so my wife doesn’t come into the kitchen and wonder just why the heck I’m taking pictures of the process. It’s a blog thing, yo.
There are some messier steps which I left out of the photographic record, but this’ll get you most of the way through the process. You’ll have to mentally fill in some of the blanks. And some stuff won’t make all that much sense until you see the whole recipe. But, here’s the process:
First off, get a nice level surface and fetch the dough out of the fridge. Are your hands all washed? Good. Then we can begin. 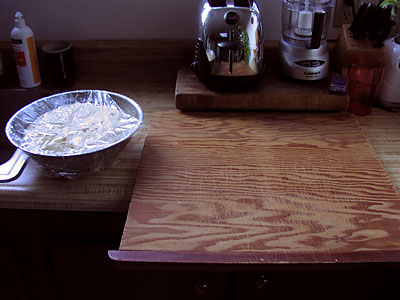
Flour everything up and divide into fourths. Then pound out one of the fourths into a nice 12 x 5 rectangle. Spread about a quarter of the filling across the dough rectangle, then fold over itself lenghtwise to make a filling-filled tube. Then slice the tube into about a dozen equal bits.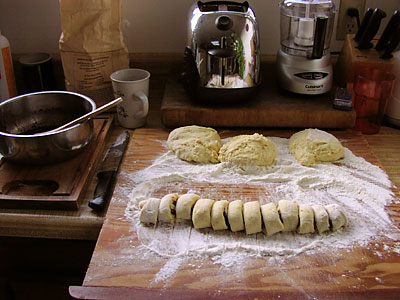
Fetch the topping pan from the oven where it was melting, and get it close to the sliced pieces. Watch out - those pans are hot…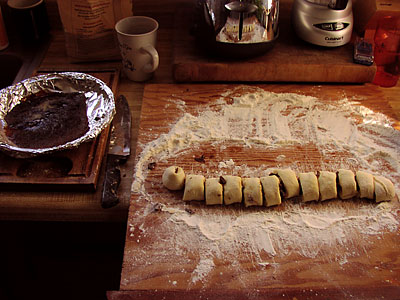
Place the sliced bits into the pan. I usually do it in a mildly spiral-like pattern, though that’s hard to tell from this image. Now - it used to be that I just slipped ‘em into the oven right away. And you can do that if you are in a hurry. But there’s a vital step which I added only a year ago…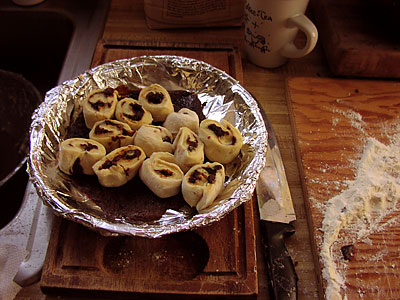
…wait. Let ‘em rise up again. This was never in the written recipe, but I expect grandma just knew that you did this. I discovered it by accident when making a batch that we were going to bake up elsewhere. When we arrived at the off-site oven, these suckers were all yeast-risen up, and they were a bit better. You can wait as long as an hour before you start cooking them (after an hour, they have puffed up pretty large and you’ll have trouble wrangling the next step. I let them come up enough so they start filling most of the pan.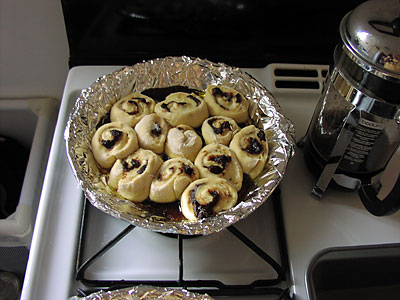
Then pop ‘em in the oven. Ignore the cornbread on the top. It’s (embarrassingly) from a mix…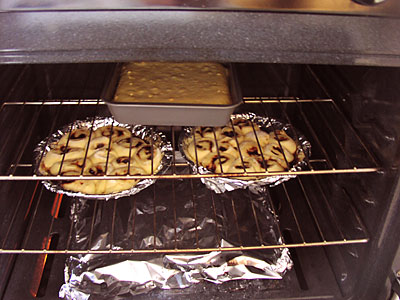
After about 15-20 minutes at 350 degrees, you’ve got almost-ready sticky buns. They aren’t quite sticky enough yet. So, set the pan down.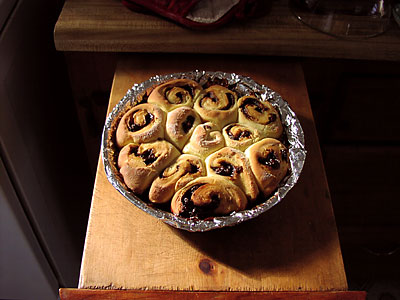
Spread out the aluminum foil “ears” from below the pan. Did I mention the pan gets hot in the oven?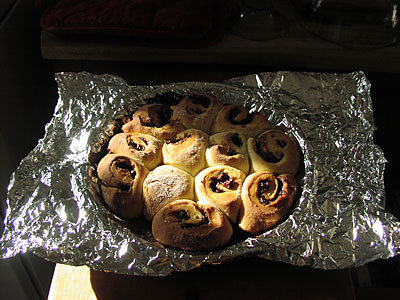
Get your foil-covered paper plate and cover your buns. Bring the “ears” from the pan up and around and fold over the plate (shown in “pre-fold” position). I like Chinet (shown below) as they present a bit better and don’t warp and let the buns hit the ground. Although this year, I discovered some compostable plates - though slightly smaller than the Chinets…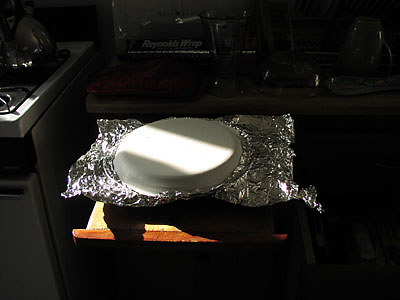
Then (using those hot pads) flip the sucker over. Not so fast that you splatter hot butter and topping all over the kitchen, but not so slowly that it leaks out. Pull the pan off and reline if you are doing another batch. Otherwise, you are just about ready for the unveiling. As these get delivered, I just tighten up the foil wrap around the edges and stack ‘em up to go.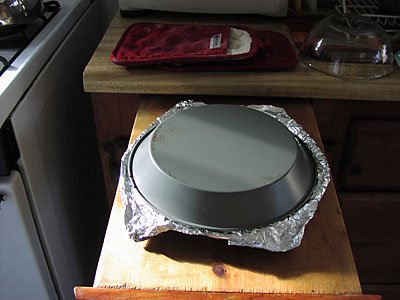
Coming Next Time: The fully finished sticky buns…